VM for Building FMU Models
We have a use-case where the vendors to our customers do not have access
to RedHawk system. But, they still would like to provide the FMU models to
our customers so that they can run them in SimWB. In these cases, it is
useful to have a Virtual Machine. Using this VM, the vendor can create the
FMU that will run in SimWB. To make this easy, we have a pre-installed
script that will automatically compile the FMU if source code is included.
Currently we support the following modeling packages
:
- Dymola® 2022 and older (FMI 1.0 and 2.0 CoSimulation)
- MapleSim® 2015 (FMI 1.0 and 2.0 CoSimulation)
Prerequisites
- Oracle® VM VirtualBox.
- About 15 GB space for the VM.
- An FMU file that is created in one of the tools listed above.
- FMU has to include support for CoSimulation. In case of Dymola 2015, it has to have FMI 1.0 compliant code.
Work flow
The typical work flow is as explained below:
- Download the Virtual Machine Image and use it to create a VM in Oracle® VM VirtualBox (One time only).
- Copy the FMU that needs to be shipped to the OEM to this VM. Say Test.fmu
- Invoke the automatic build script as follows:
- simwbBuildFMU.pl --fmu Test.fmu
- The above command will create another Test.fmu file that includes Linux64 binary. This FMU can then be sent to the OEM for use in SimWB.
Configuring Concurrent Virtual Machine for Creating FMUs for SimWB
- Download the Concurrent supplied Virtual Machine and unzip it.
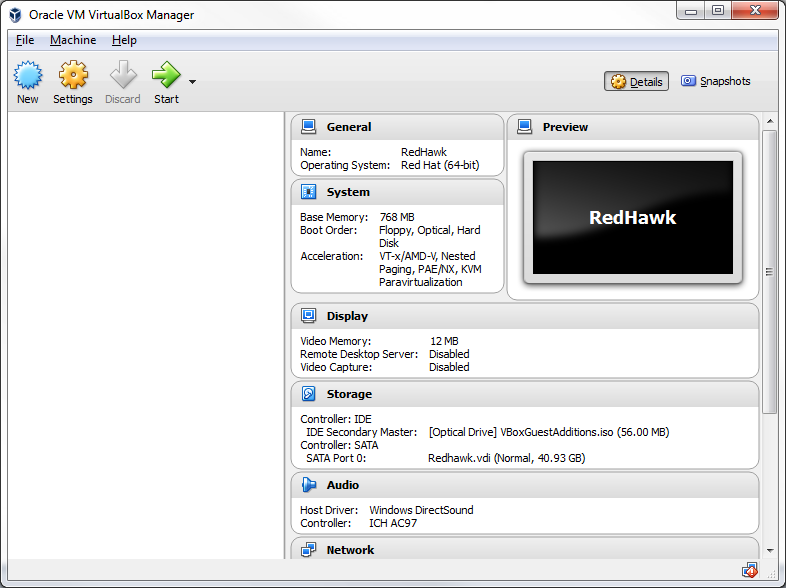
- Start the Oracle® VM VirtualBox. This should open up a window as shown in figure below.
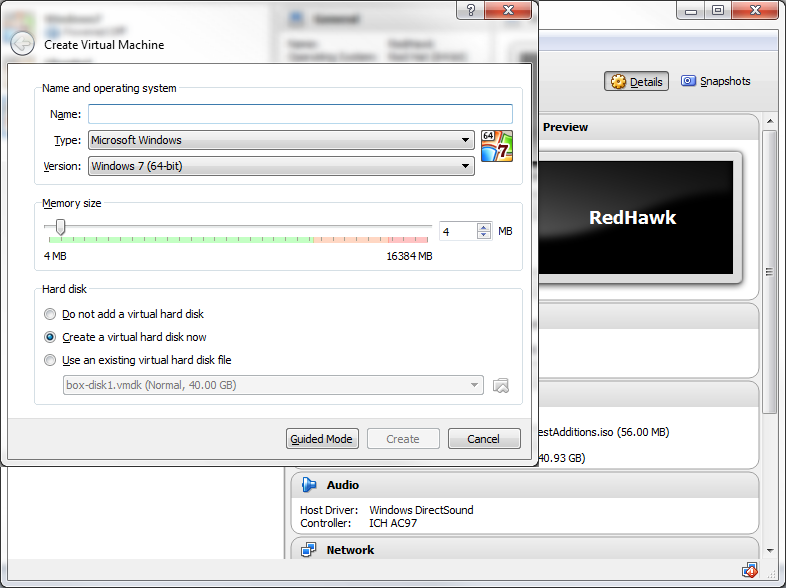
- Click on the ‘New’ button and this should open a window as shown in figure below.
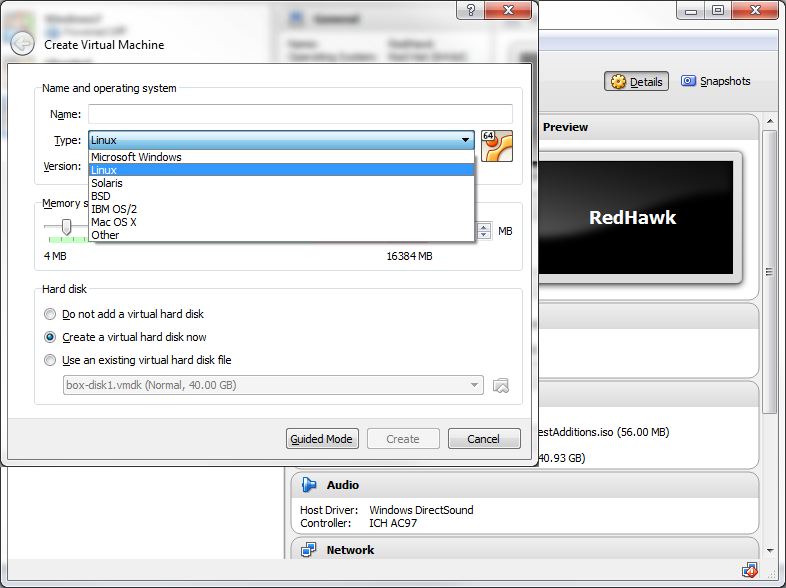
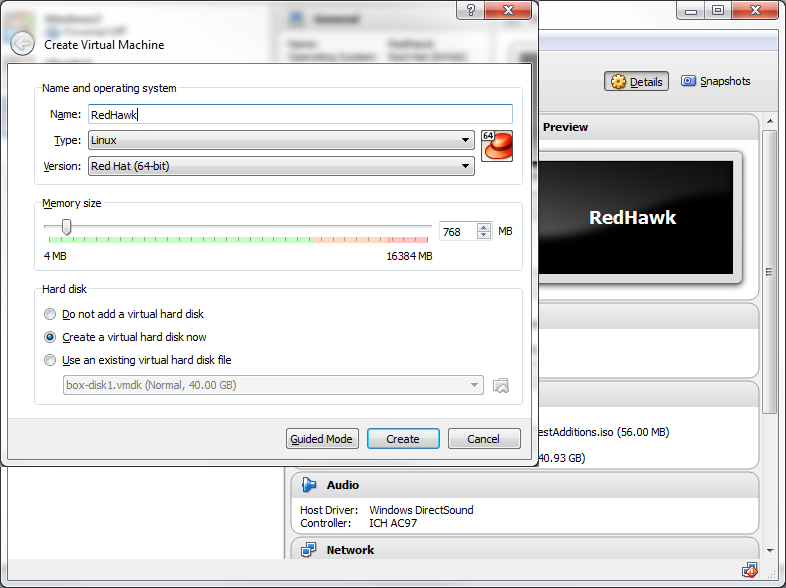
- Select ‘Type’ as ‘Linux’ as shown in figure below.
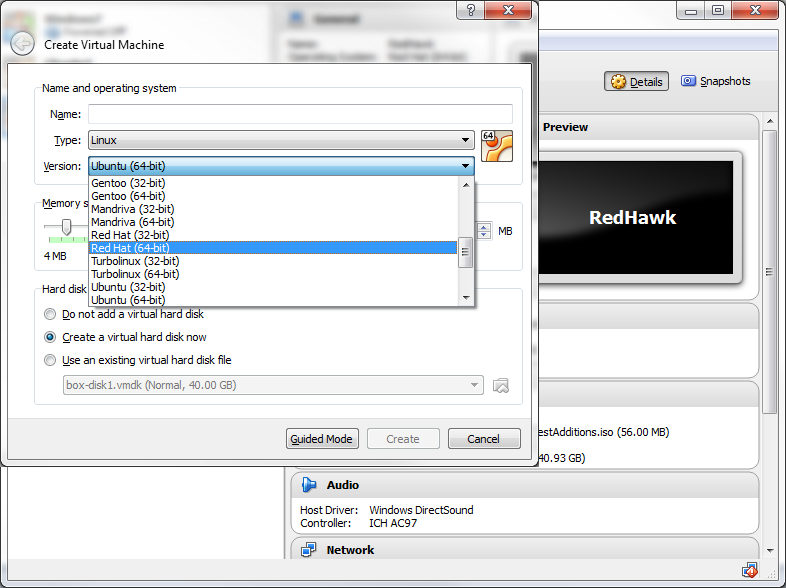
- Make sure to select ‘RedHat’ (64-bit) for the ‘Version’ option as shown in figure below.
- Set a ‘Name’ for the VM as shown in figure below.
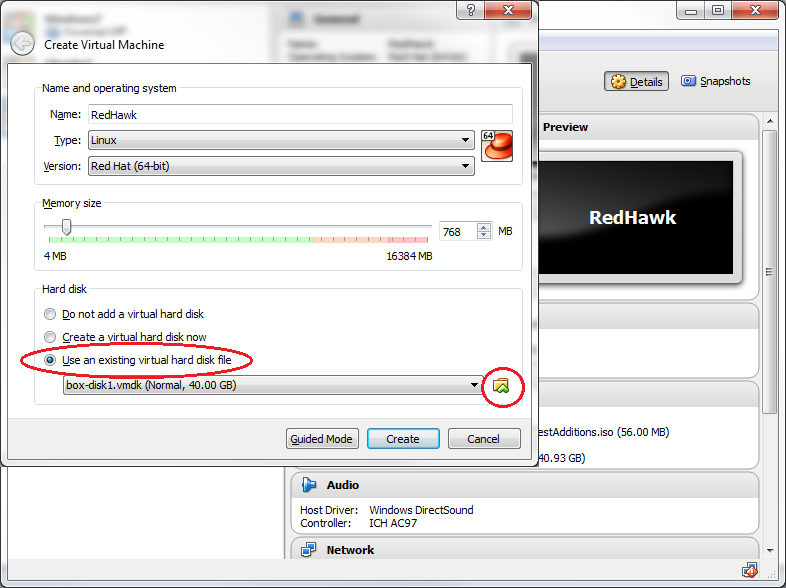
- Select ‘Use an existing virtual hard disk file’ option for hard disk. And click the open icon at the right side as shown in figure below.
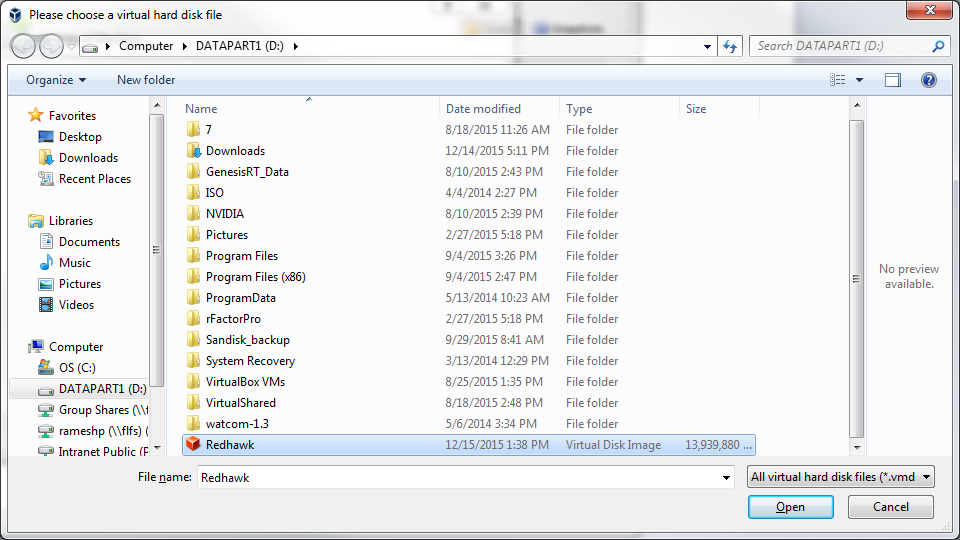
- This should open the File Explorer. Select the extracted ‘Redhawk.vdi’ file in this window as shown in figure below.
- Now we are ready to create the VM. Select ‘Create’ option as shown in figure below.

- Now select ‘Start’ to start the VM as shown in figure below.

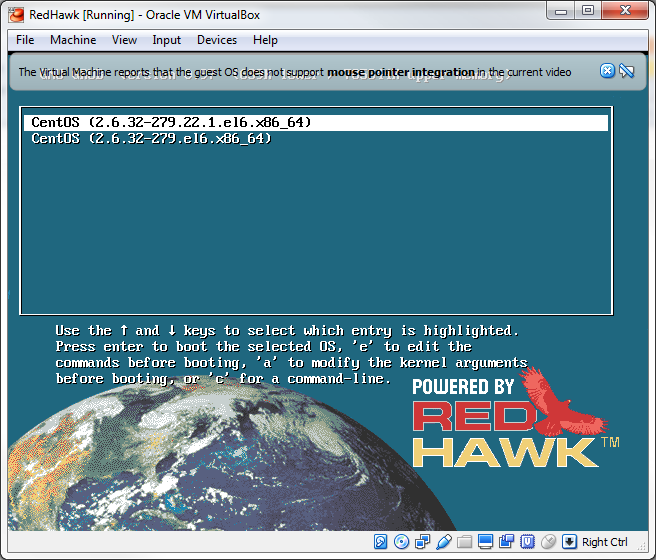
- This should show the GRUB menu as shown in figure below. If you don’t do anything, the first option should be automatically selected.
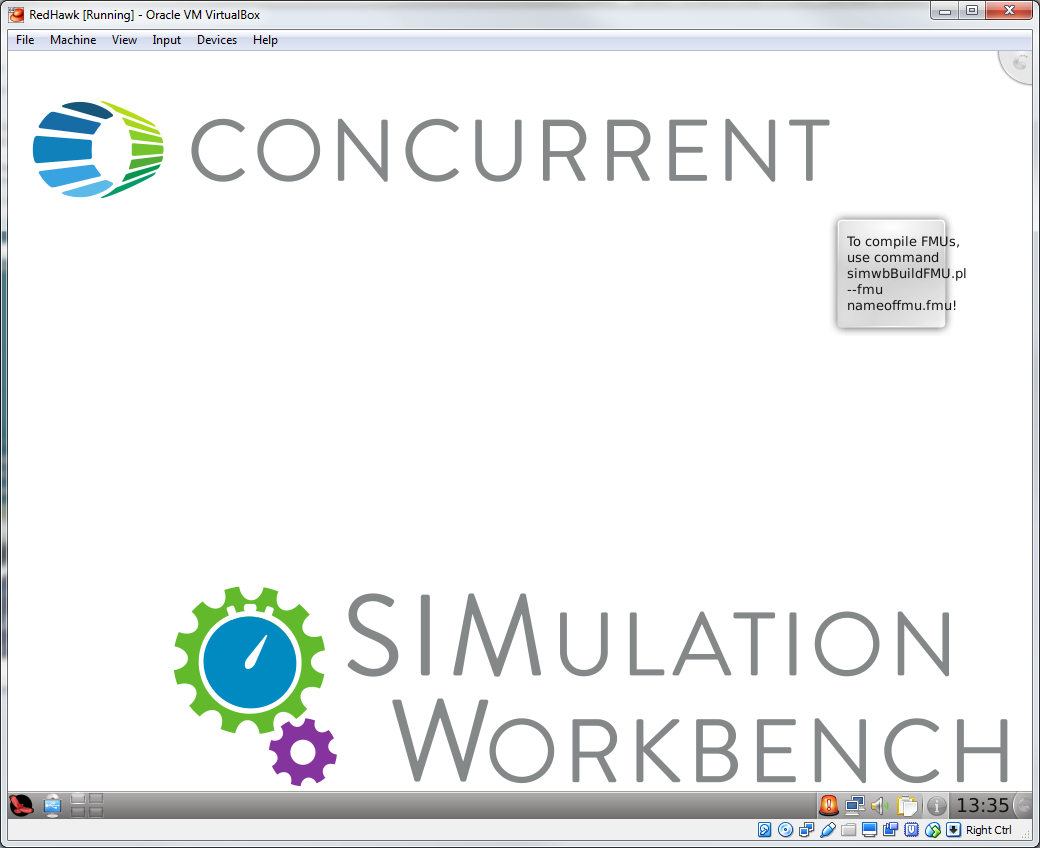
- The VM should boot up and login automatically as ‘simwbuser’. You should see the desktop as shown in figure below. You can use the following credentials to access the system:
- User : simwbuser
- Password : simwbuser
- User : root
- Password : simwb123
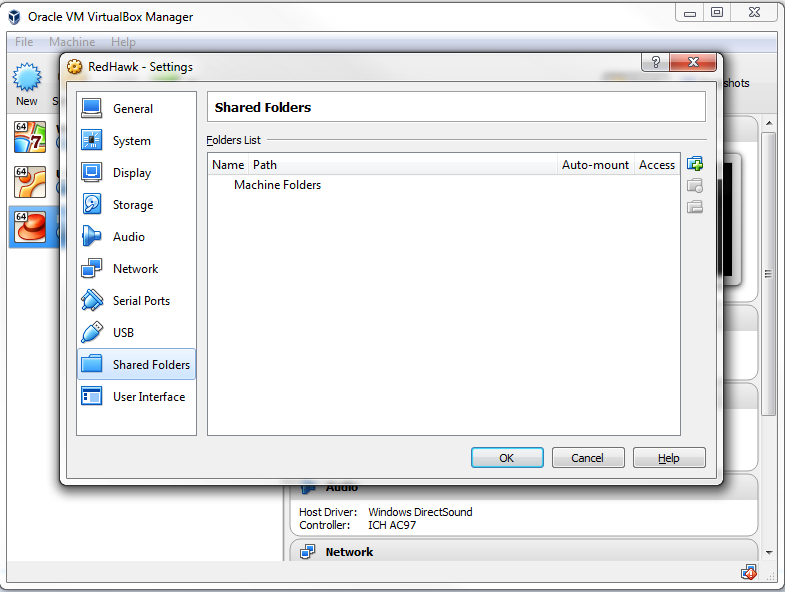
- The VM should automatically connect to the network and get an IP dynamically. So, you can copy the FMUs to the VM using ‘scp’ command or use the ‘Shared Folders’ option available in VM ‘Settings’ as shown in figure below.
- Now you can invoke the script as follows to create FMUs:
- simwbBuildFMU.pl --fmu /PathToFMUFile/NameOfFMU.fmu

